Rainbows & Dinosaurs

originally posted 6/17/23, updated 6/2/25
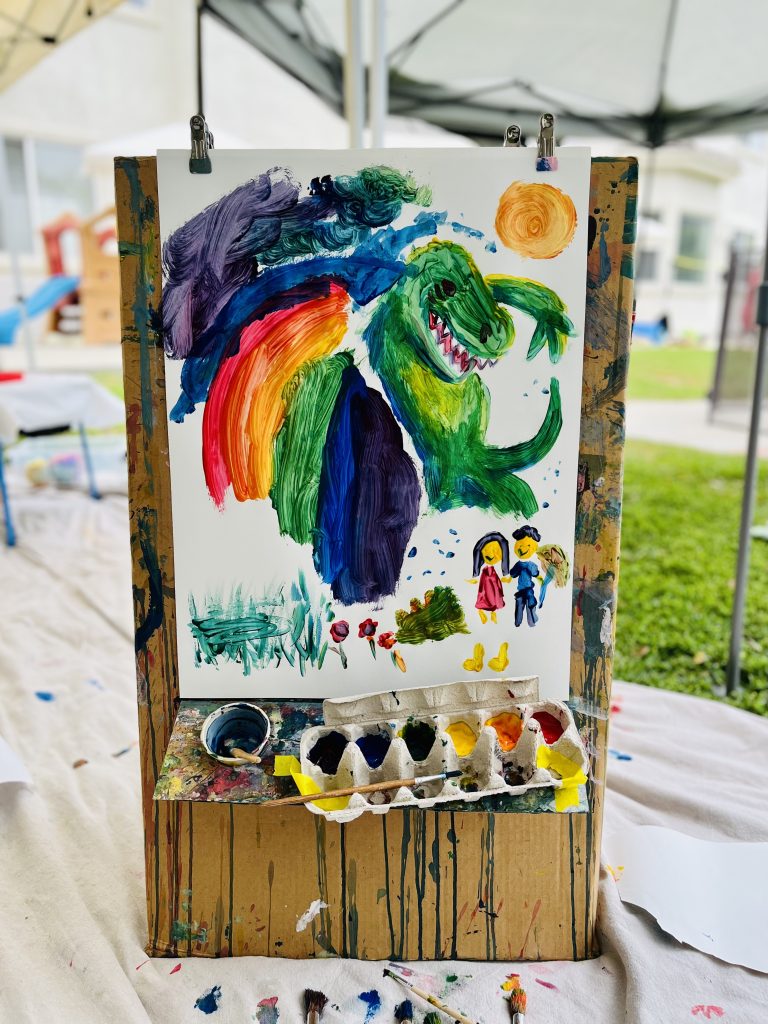
Rainbows & Dinosaurs came from the imagination of a girl about to turn 3, as an idea for her birthday party theme. We were invited to that party, and couldn’t stop thinking about the rainbows & dinosaurs when it was done. Veronika wrote a song about them, which became about seemingly different things playing together harmoniously (and how that works in music), and which we finally recorded with Emilia & her younger brother Edgardo and released on 6/6/25! The rainbows and dinos also spawned a handful of art projects, which you’ll find below for your at-home play : ).
Hope you enjoy, and thank you, A.W.!
Anne
PLAY
323.988.1189 call or text

Stream Rainbows and Dinosaurs
Rainbows and dinosaurs, staccato and legato, two melodies sung at once–all happy collisions and contrasts built into Veronika’s seemingly simple song! Please follow Cricket Sings on Spotify or wherever you stream to hear to the release. Link to the song on 6/6 HERE.
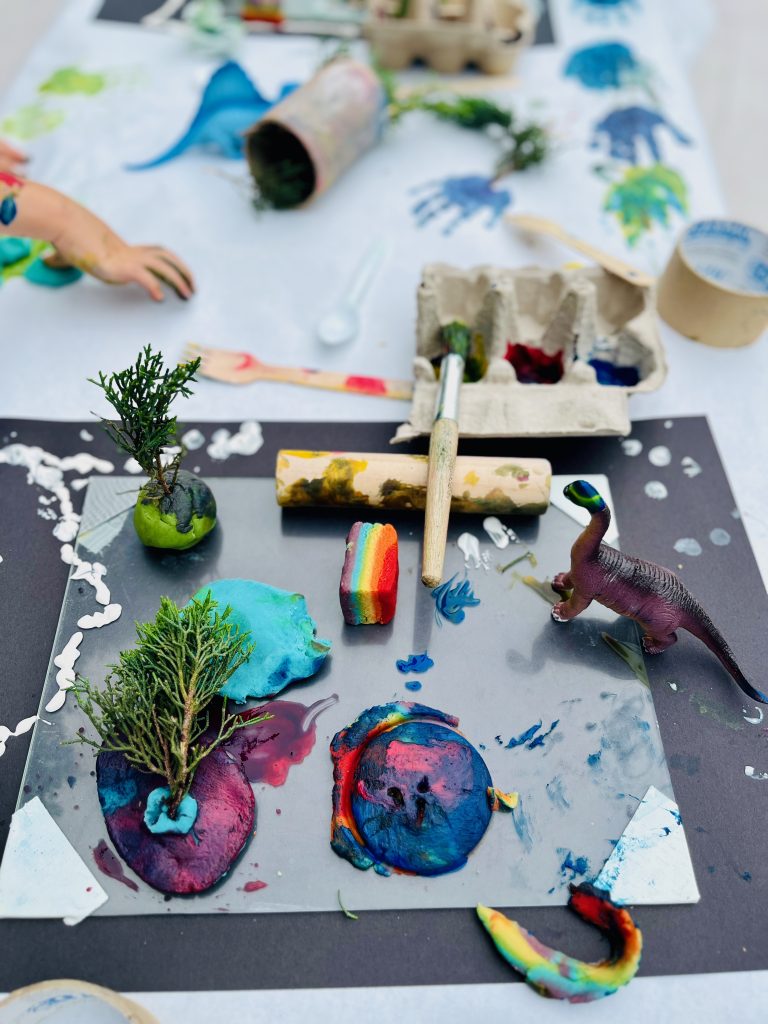
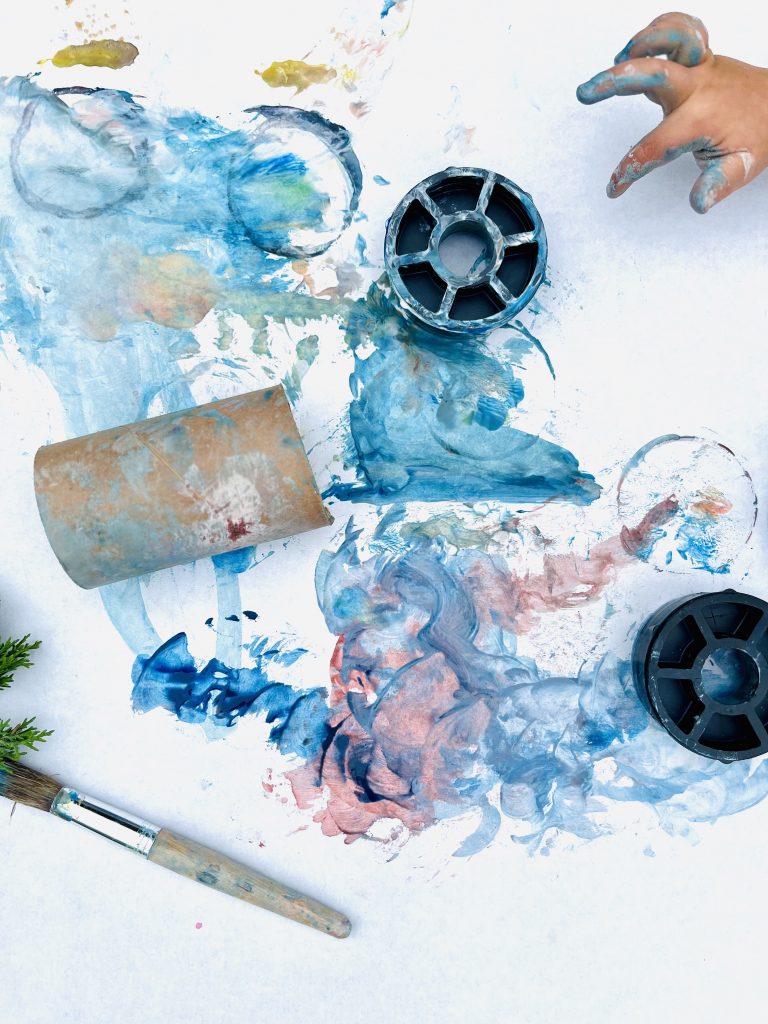
Play Dough + Paint + Natural Materials + Recycled Tools + Toys
This always adds up to fun. Give kids a combo of these materials, and let them play freely. If it comes up, help them learn to make basic shapes with the dough like a ball, a snake (later a coil), and a pancake. I put together my play dough recipe (below) by borrowing from others, and trial and error, and I’ve found it to be reliable, inexpensive, and relatively quick.
For the play set-up, you can certainly omit the paint if you’re doing this at home and it’s too messy for your space. Resist the urge to buy new plastic toys to stomp through your dough. Use what you already have or acquire some from another parent who is probably eager to get rid of them. For an easy work surface, use a large piece of cardboard, optionally covered in wax paper.
Play Dough
*Yes, it’s made of food grade ingredients, but don’t eat it, or leave it where children or pets might eat it. It really has too much salt to be safe for consumption. I don’t add edible-smelling scents for this reason. Because this is a cooked recipe, it’s safer, easier, and more enjoyable (in my opinion) to do this without kids in the kitchen.
Ingredients for one portion:
- 1 cup flour
- 1/4 cup salt
- 3/4 cup water
- 1 tbsp. vegetable oil
- 3 tbsp. distilled white vinegar
- a few drops of food coloring
Mix your dry ingredients (flour and salt) in a bowl. In a pot on the stove (non-stick if you have it), combine the water, vegetable oil, distilled white vinegar, and food coloring.
Before you turn on the heat, mix your dry ingredients thoroughly into your wet ingredients in the pot. Mixing before you add heat will prevent small white lumps from forming in your dough as you cook.
Cook on medium or slightly lower, turning and flipping the dough constantly with a spatula until it dries out a bit and comes together in a ball. This only takes a couple of minutes.
Carefully, transfer the dough to a piece of wax paper or parchment paper on the counter. When it’s cool enough to handle, knead it for a few to several minutes. (If you’ve taken my advice to do this without kids in the kitchen, enjoy a quiet moment. Kneading the dough may be fun.) The dough shouldn’t stick to your hands. If it does, it might be under cooked, or maybe you got heavy-handed with some gel food coloring (as I did once, ruining a batch of pitch black dough).
When it’s completely cool, wrap it in the parchment and put it in an airtight container. I haven’t tested the limits of long the dough will keep, but it’s at least several days (and probably weeks). Of course toss it if it dries out, smells off, or you see any sign of mold.
For Play
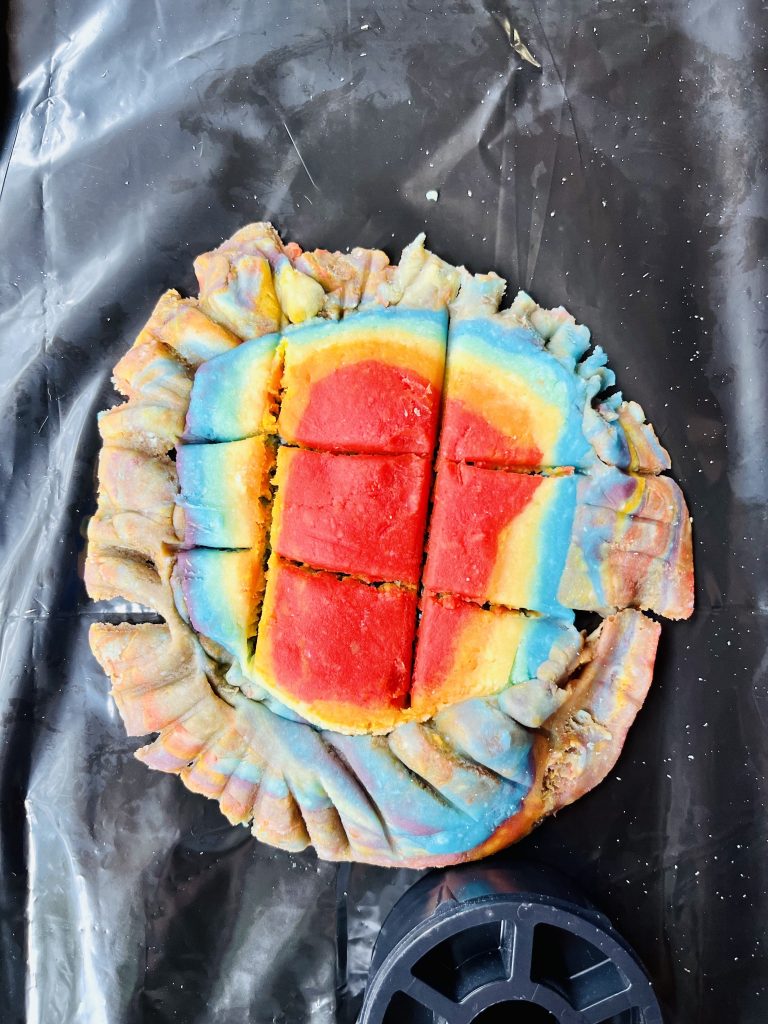
Adjusting for safety according to children’s ages and abilities, explore two or more of the following in combination:
- Play dough
- Wooden dowel pieces (as rollers, stamps)
- The plastic toys you already own
- Recycled materials like empty cardboard tape rolls, paper towel rolls, hard plastic packaging for making impressions, rolling, or cutting shapes (without sharp edges)
- Various safe plant materials
- Popsicle sticks
- Bamboo forks
- Paper
- Washable tempera paint in a half egg carton
- Paintbrushes
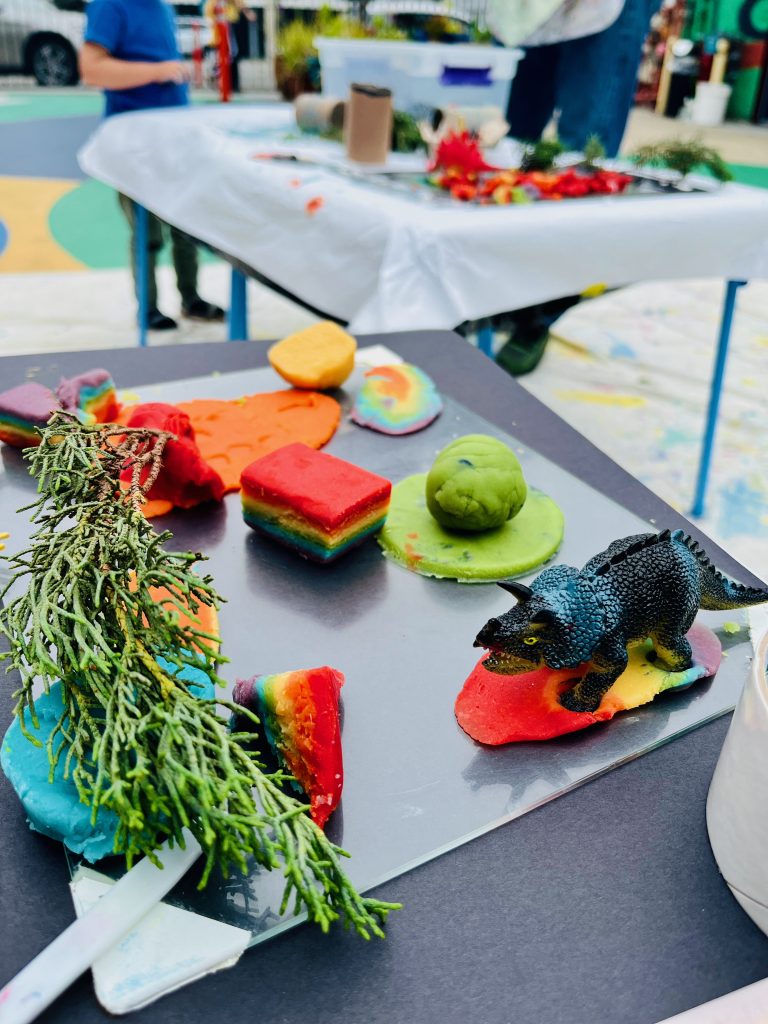
Rainbow Dough
Making the rainbow dough stack shown in these photos is fun but time consuming because you’ll need all the colors. (On most days a 3-color stack is plenty.) Just roll out each of your colors to a 1/2″-1/4″ thickness, stack them, give the whole stack a gentle rolling to adhere the layers, then trim the edges and cut into squares with a dough scraper or sharp knife. (If your layers are thin, lifting them for stacking is easier if you roll each one on parchment paper.)
Deconstructed Dinosaurs: Doodle + Paint + Collage
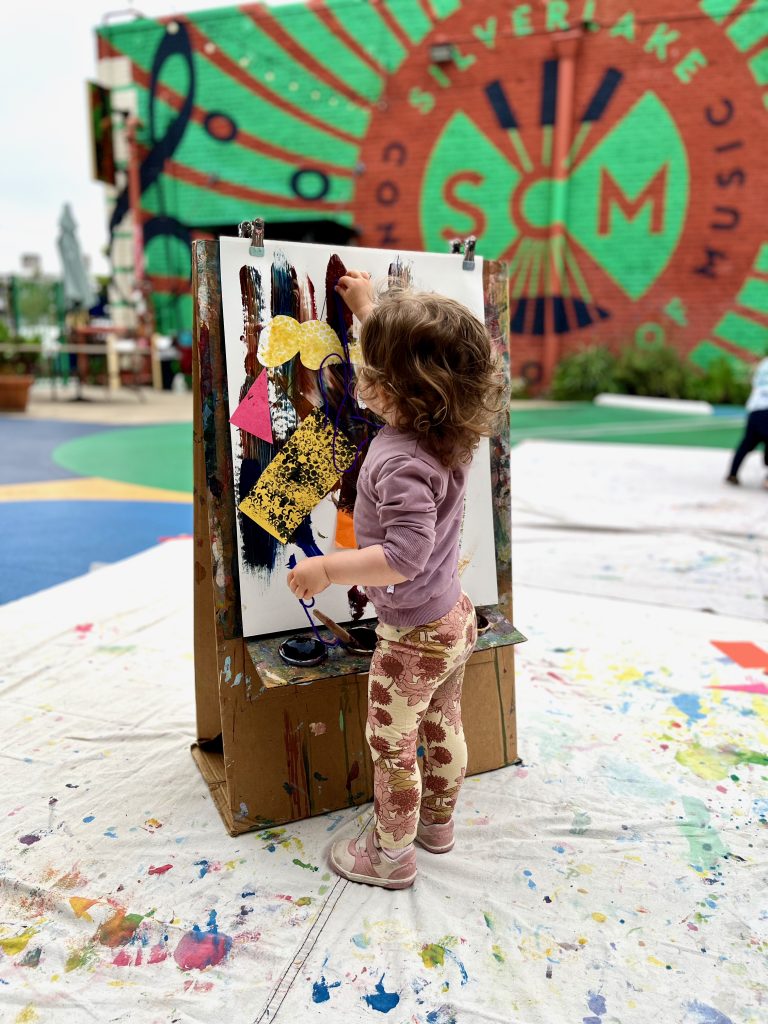
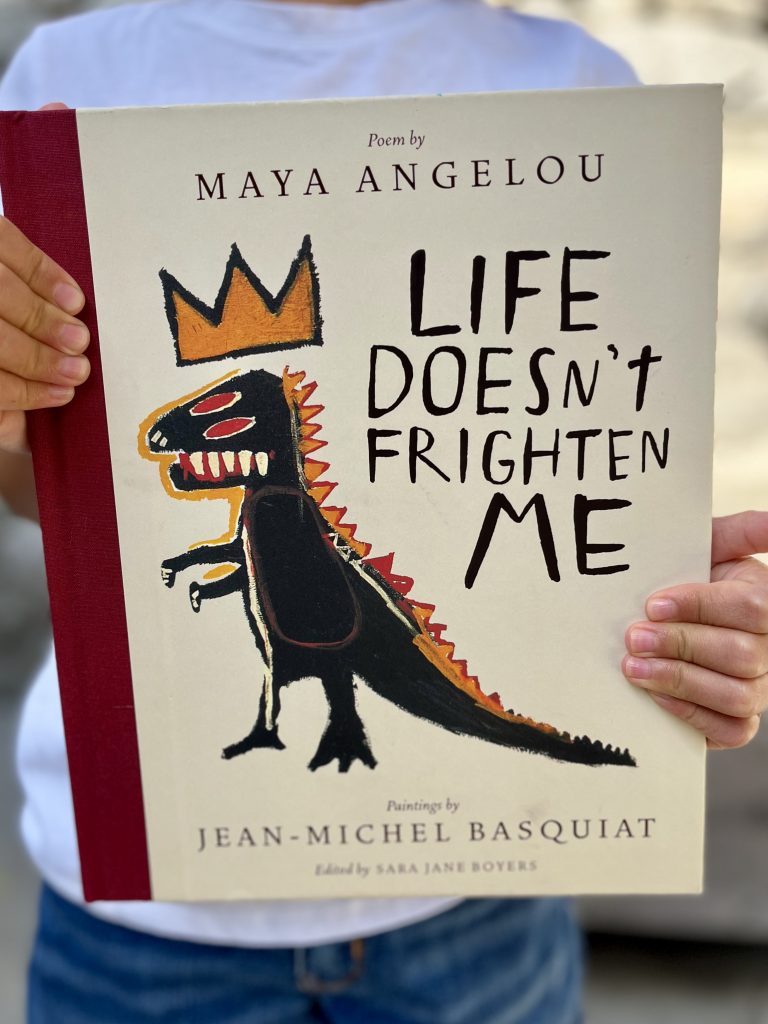
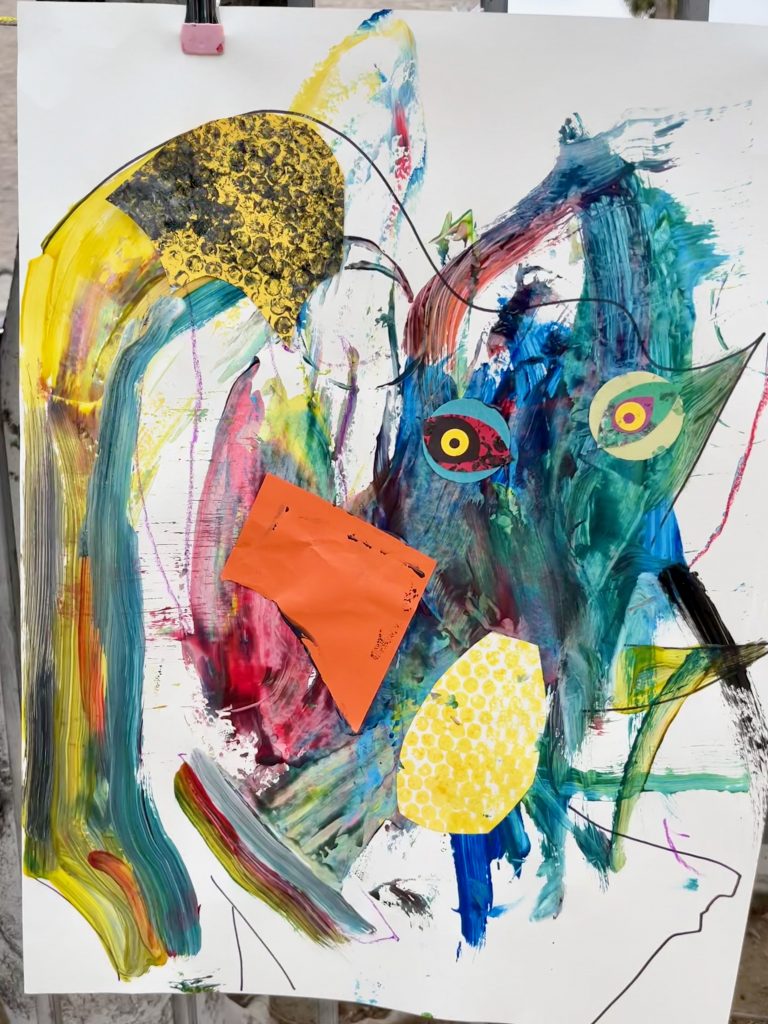
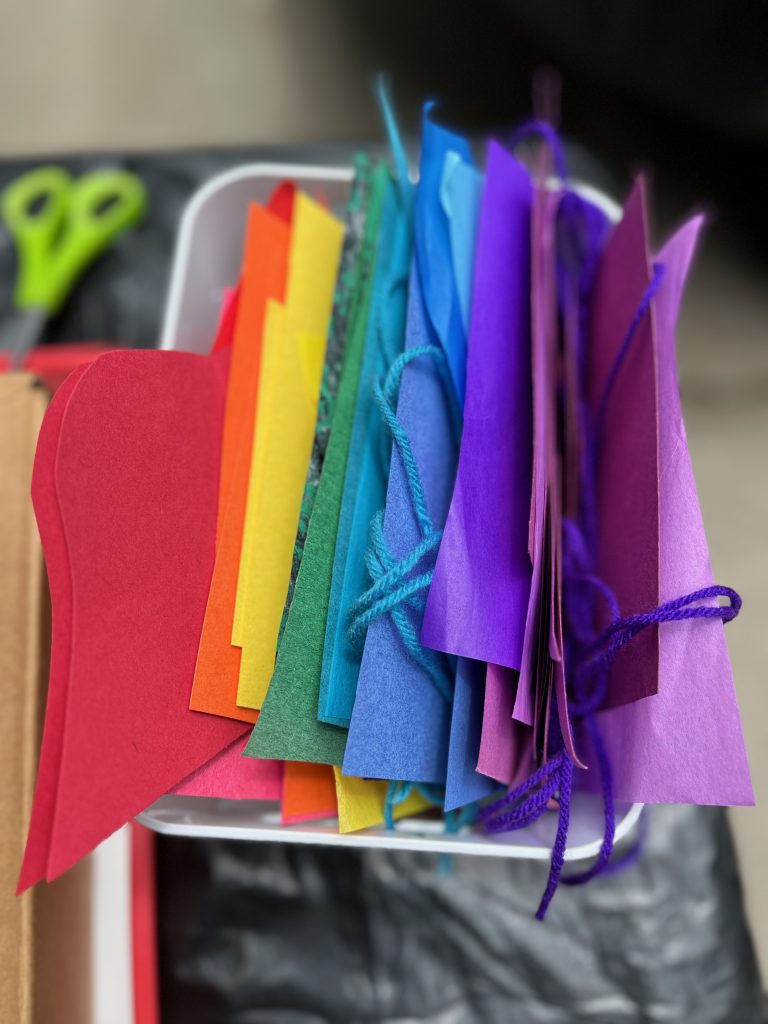
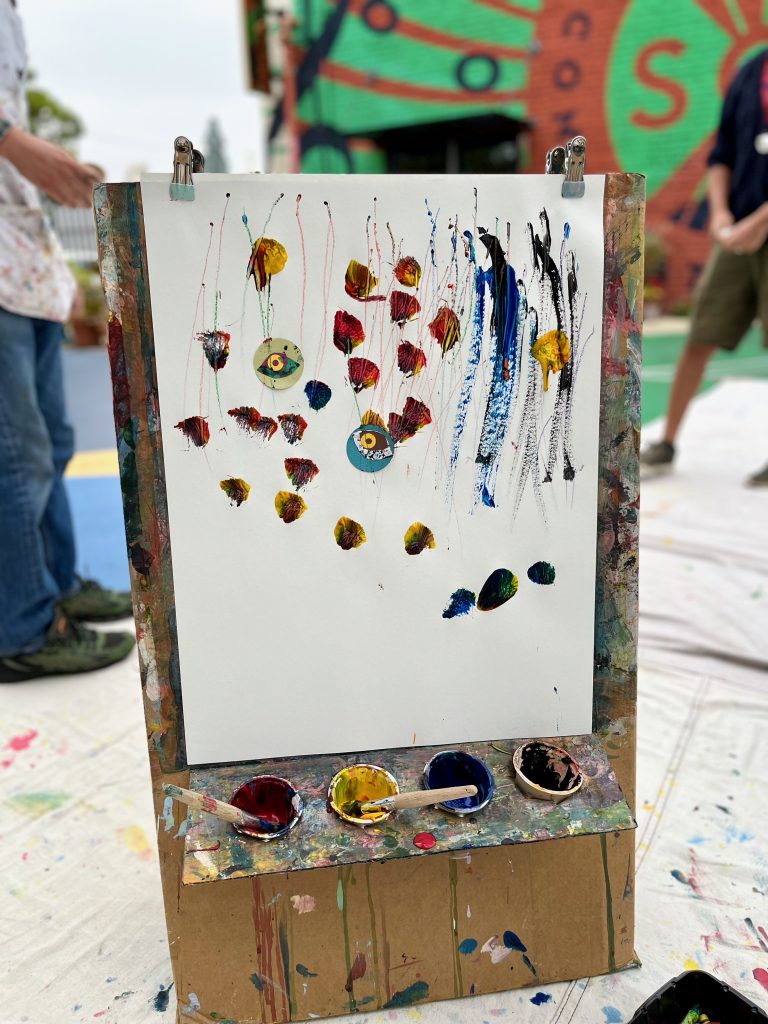
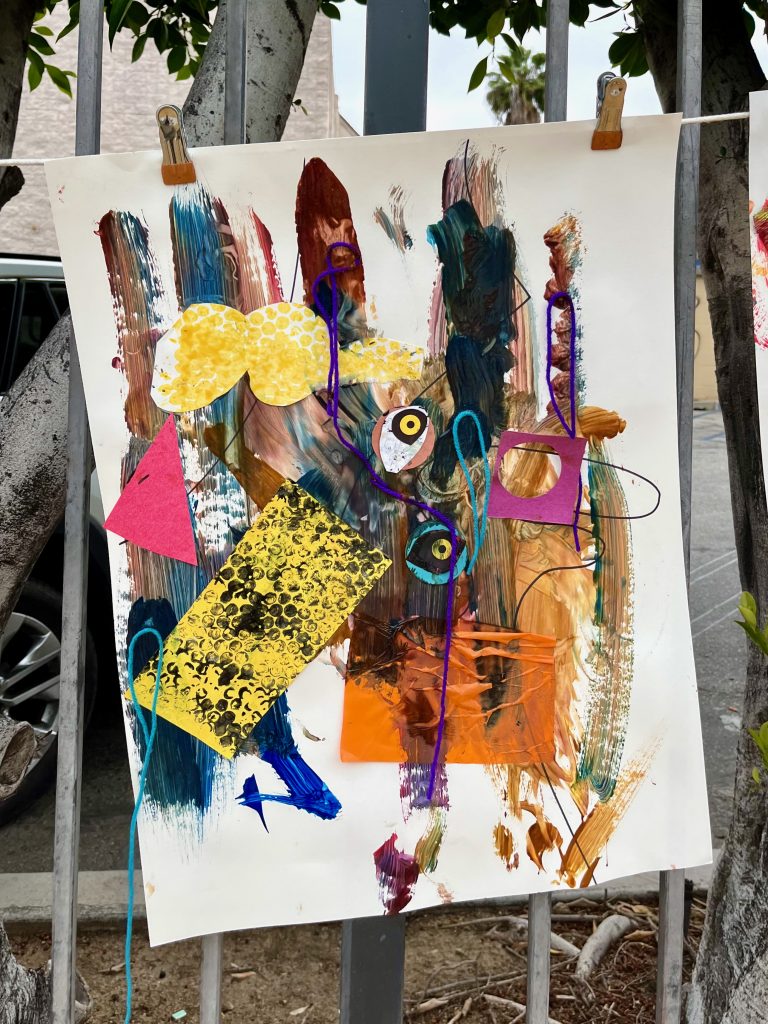
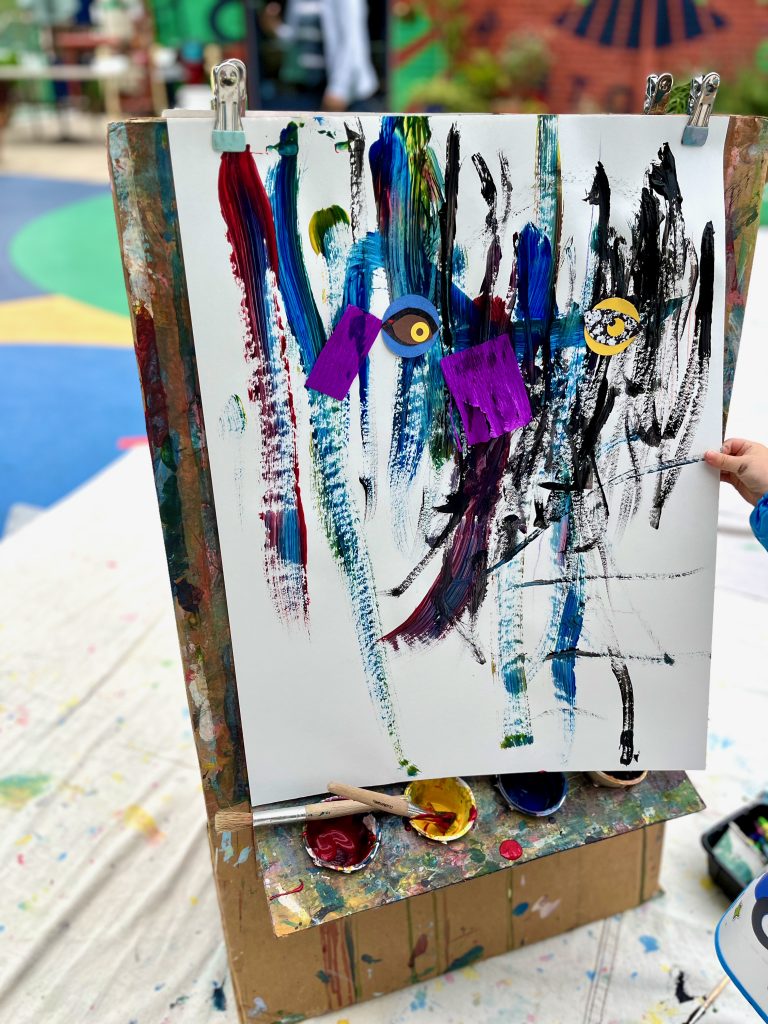
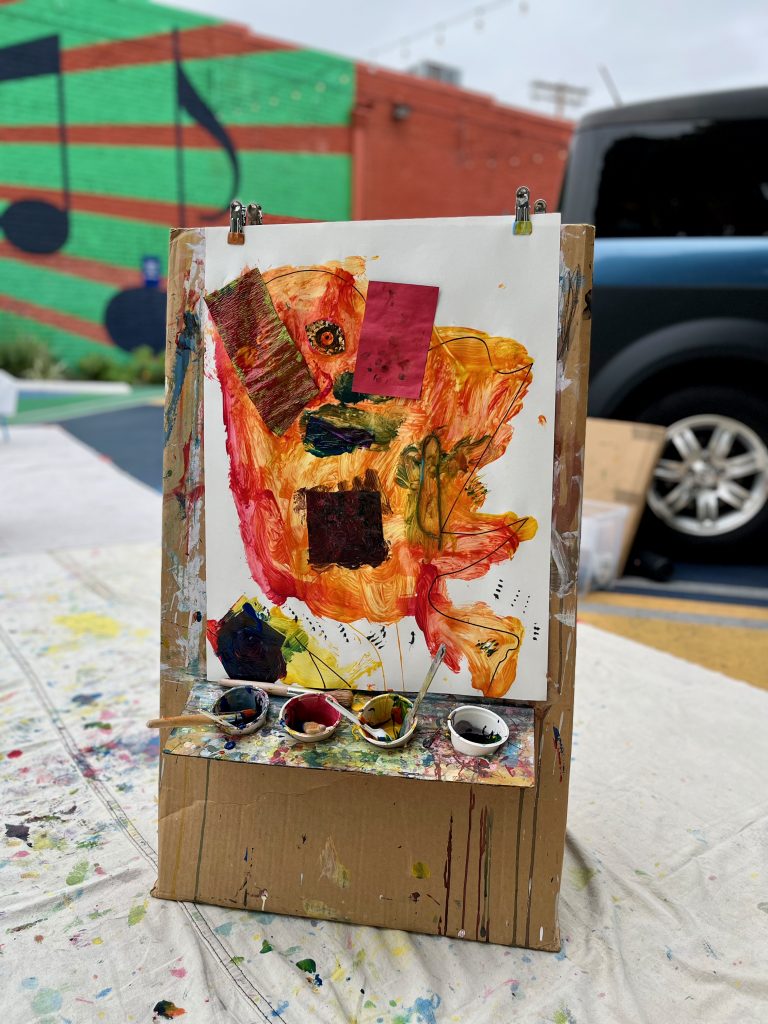
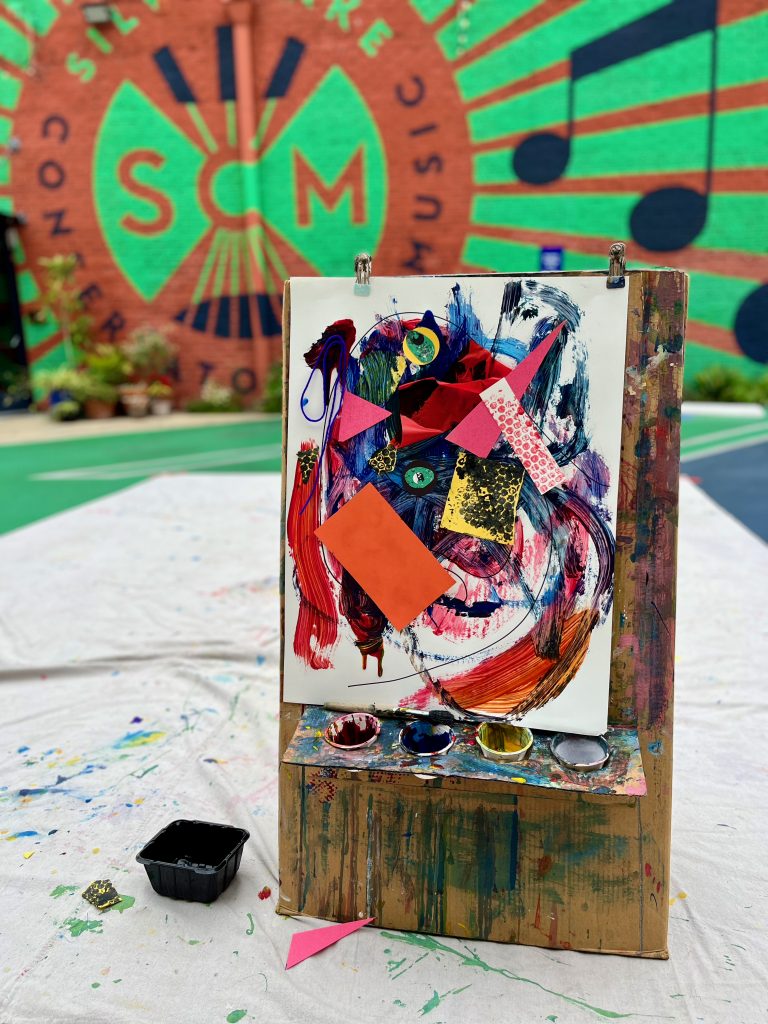
My habit when suggesting themes to young children for their art time is to take things apart. I offer colors, textures, unfinished bits from our inspiration–on this day, dinosaurs in general, and a very brief chat about Basquiat’s “Pez Dispenser”–and invite kids choose what interests them and put it together. If I’m having too much fun prepping collage materials for them, I know I’m doing too much. (The paper eyeballs for this project were borderline, but it was worth it to see how kids placed them.) Not every process art activity needs to start with a blank page. I remind children that once they get to their easels, what they do with what they find there is entirely up to them.
Explore Color + Sound
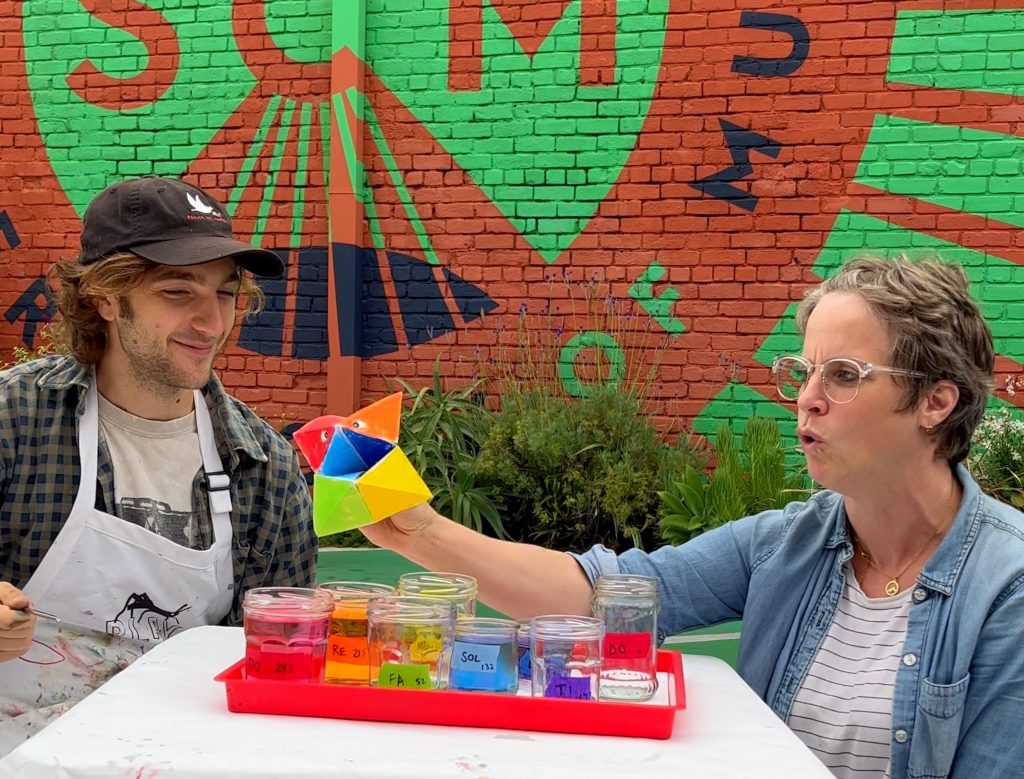
See Rubin, Veronika & Snapdragon singing rainbow solfege with the pitched water jars on Instagram.
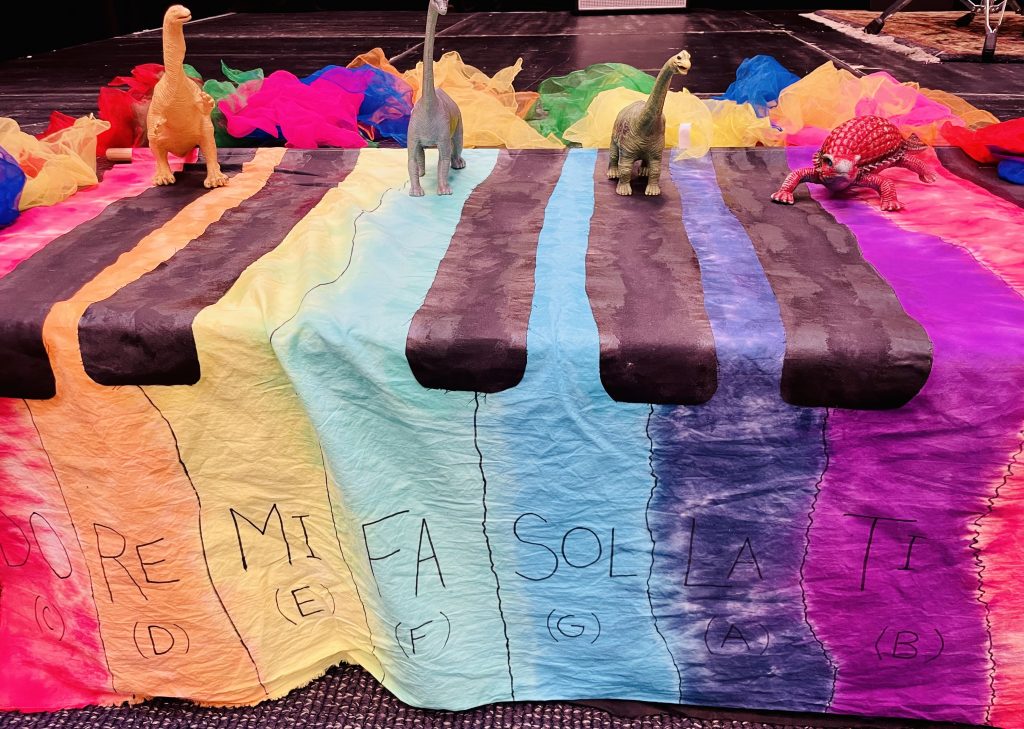
Rainbow solfege is something we love to explore in PLAY music. At home, start with any children’s xylophone (in the colors of the rainbow), and play and sing the notes together. If you’re intrigued, you may find yourself spending hours pitching rainbow water jars to a musical scale, or making giant tie-dyed pianos. We love to use color-coded solfege to think about the ways that color and sound connect. In Rainbows & Dinosaurs, we talked with some of our 4- and 5-year-olds about the wavelengths of sound and light (and how the red do at the bottom of the scale reaches our eyes and ears in longer waves than the orange re).
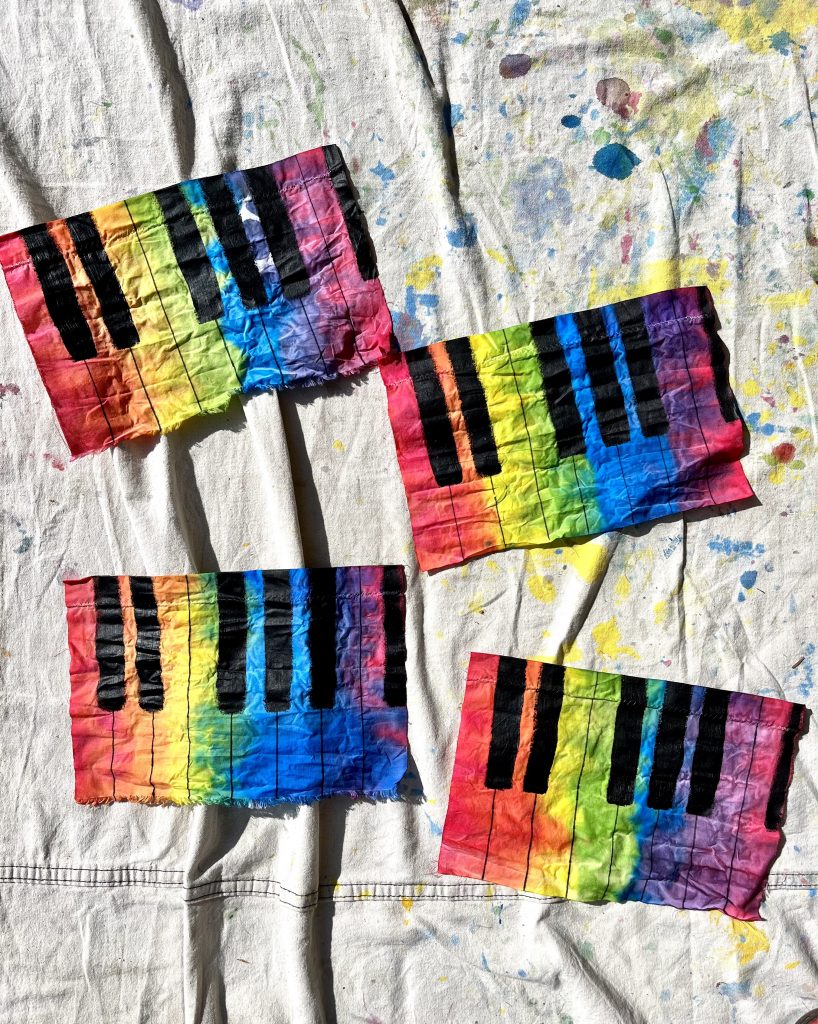
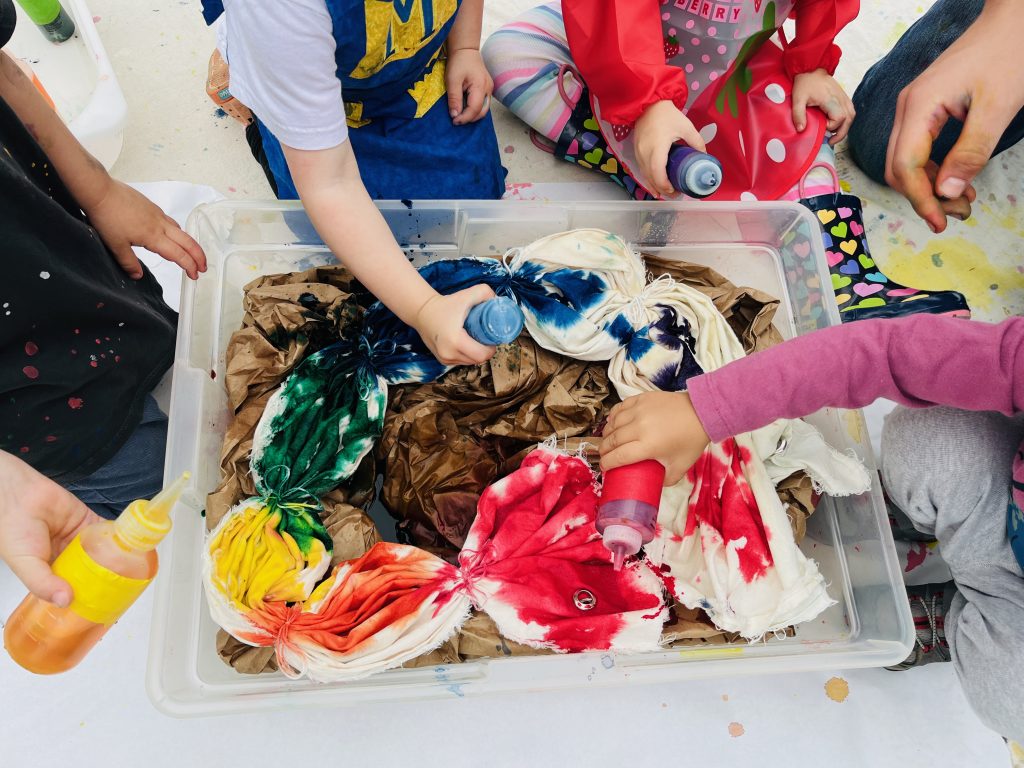
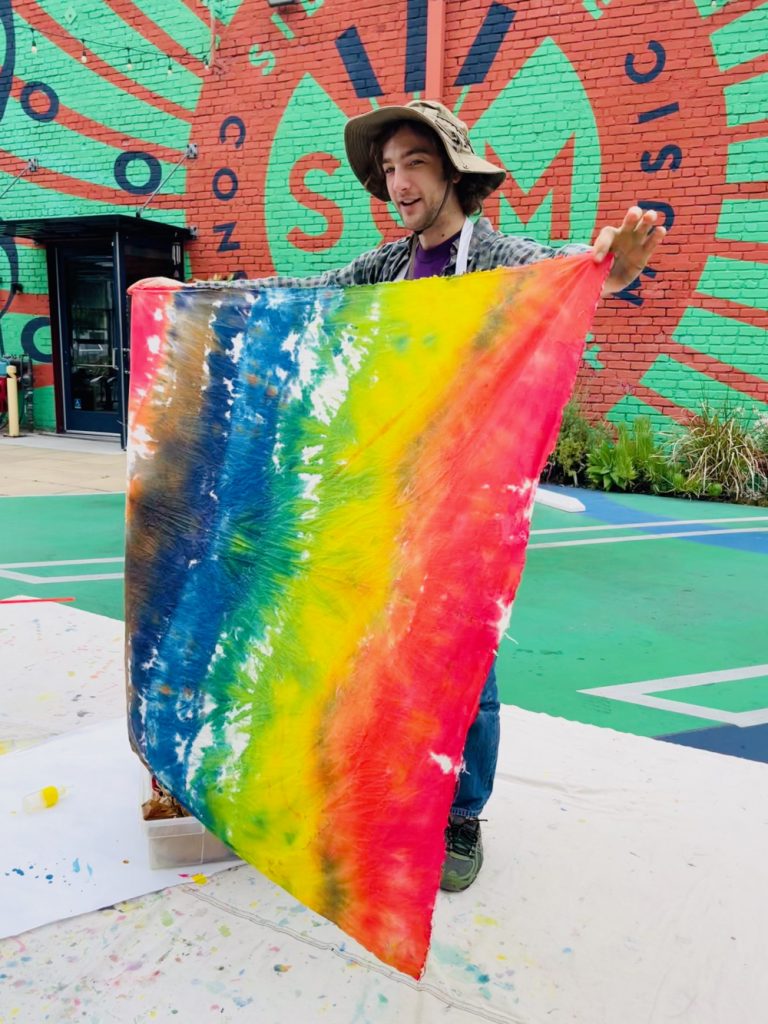
*Tip: Tie-dying with a group of little kids? Reduce stress and fabric waste by using washable liquid watercolors (diluted to about 50/50 with water). You’ll get the excitement of unfurling a big, tie-dyed piece of muslin fabric that kids made together without ruining literally everything they’re wearing. If you decide to throw this fabric in a warm wash later, it will come out nearly or entirely white so you can do the whole thing again.
